Quick Setup for HotSync®
This tutorial assumes the following:
- You have already installed iSiloX on your system.
- You have not yet started iSiloX for the first time.
- You have HotSync® installed on your system.
With the above assumptions, this tutorial walks you through
the initial quick setup for configuring iSiloX for your
particular handheld device.
Step 1:
If you did not modify the default installation options when
you installed iSiloX, then you should have a desktop shortcut
to iSiloX, like that shown below. Double-click the shortcut
to start iSiloX.

Step 2:
Assuming you have HotSync® installed, the very first time you
start iSiloX, you get the Quick Setup for HotSync® dialog
shown here:
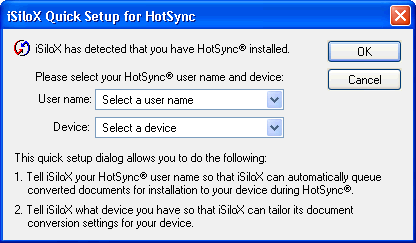
Step 3:
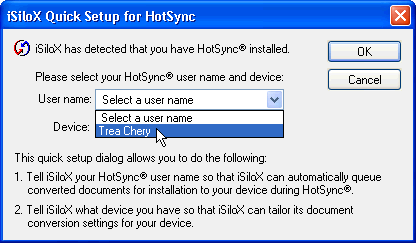
The user name list should have a list of all HotSync®
users on your system. Select your HotSync® user name
from the User name list so that documents you convert
can automatically be installed to your device during your next
HotSync®.
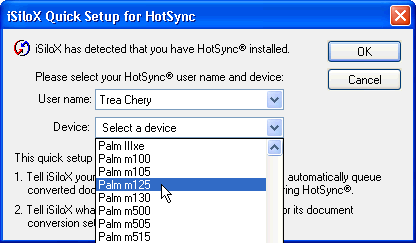
Step 4:
iSiloX can optimize the output for your specific handheld model
by setting up initial default settings for documents you convert.
An example of this is choosing an appropriate size and color depth
for images. Select the model that best matches your handheld
from the Device list.
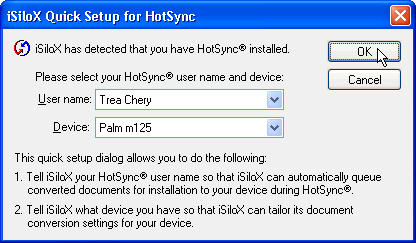
Step 5:
After you have selected a user name and device, click OK
to complete the quick setup.
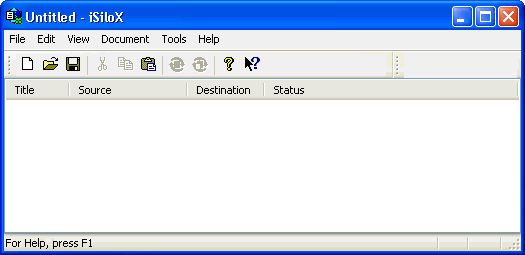
Step 6:
iSiloX starts and is now ready for you to use.
Congratulations on completing the iSiloX quick setup.
Next, if you follow the
Convert an HTML Document from the Web and
Convert a Text Document from Your Local Hard Drive
tutorials, you should be on your way to knowing how
to use iSiloX to create documents to view on your handheld.